CHATTERBOX QUILTS’ BLOG
Helping Quilters Learn and Improve
I Can Do Whatever I Want!
This month the challenge for Island Batik Ambassadors is…to make whatever project we want to using Island Batik fabrics. Okay, so I can’t do whatever I want, except with this project! 😉
Sometimes being able to do any quilting project I want can be more challenging than following the guidelines that Island Batik usually provides for the Ambassadors.
As I tend to overthink everything, I decided that I wouldn’t do that this time but what I would do is make a project that has been on my personal “to make” list already.
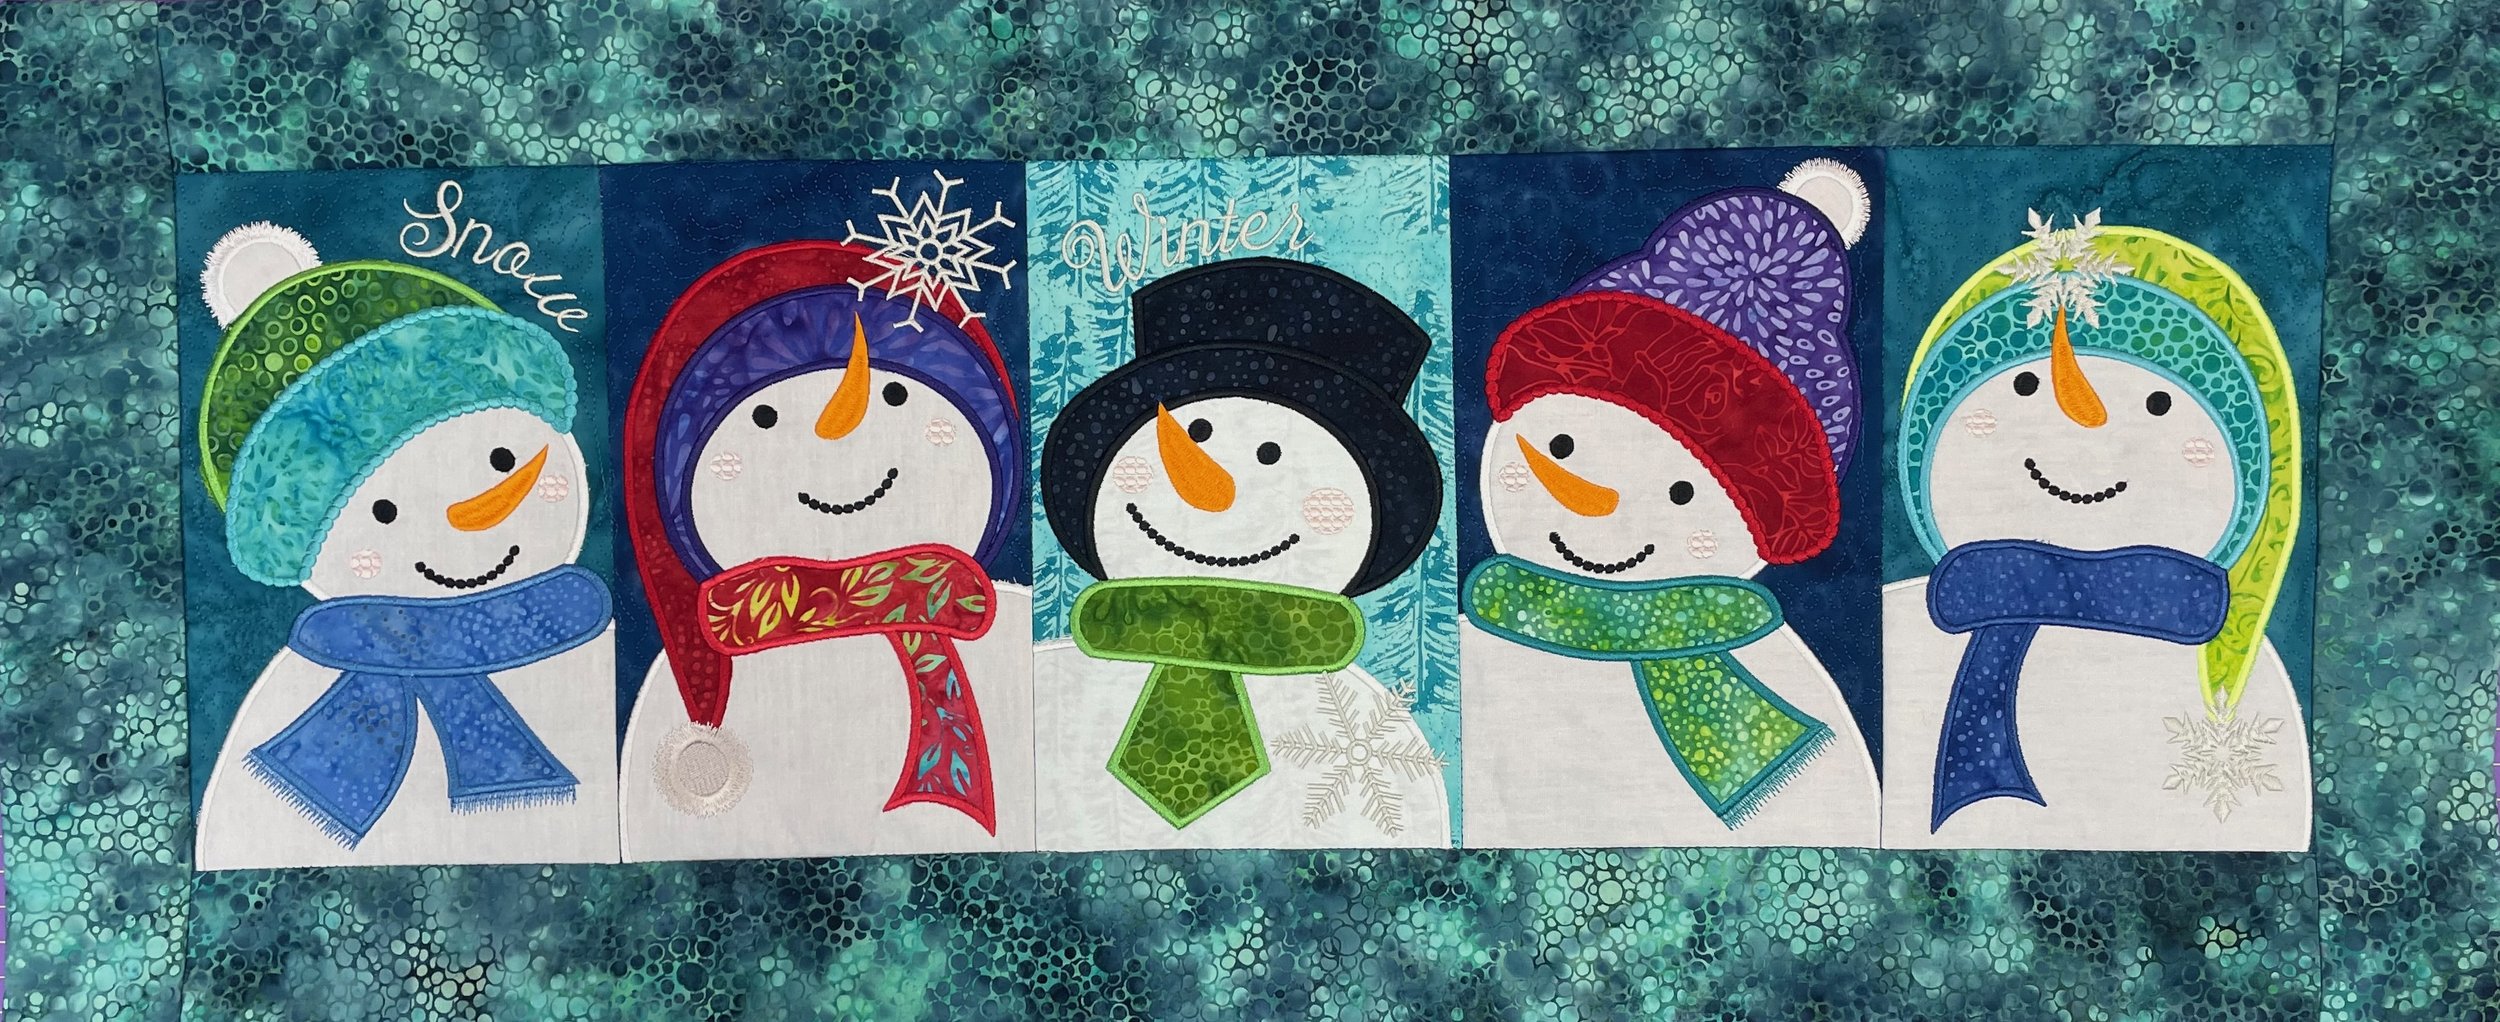
One of the projects that I have always wanted to make is a machine embroidery table runner from Sweet Pea Machine Embroidery called “Let it Snow”. I love making these type of in the hoop (ITH) projects as you only have to do a minimal amount of sewing after the project is embroidered.
While the sample pattern showed the snowmen all in various blue fabrics, I knew that I was going to be choosing lots of bright Island Batik fabrics to dress these gents. Picking out the appliqué fabrics is always the most fun for these types of projects (at least for me!).
I headed into my Island Batik fabric stash to start pulling fabrics and here are the ones I chose.
Now to decide where to put these fabrics! Once I had decided on the fabric arrangements, it was time to start stitching and here are a few of the snowmen in progress.
Once each individual snowman panel was stitched out, it was time to choose the border fabric and this was another opportunity to overthink! 🤣
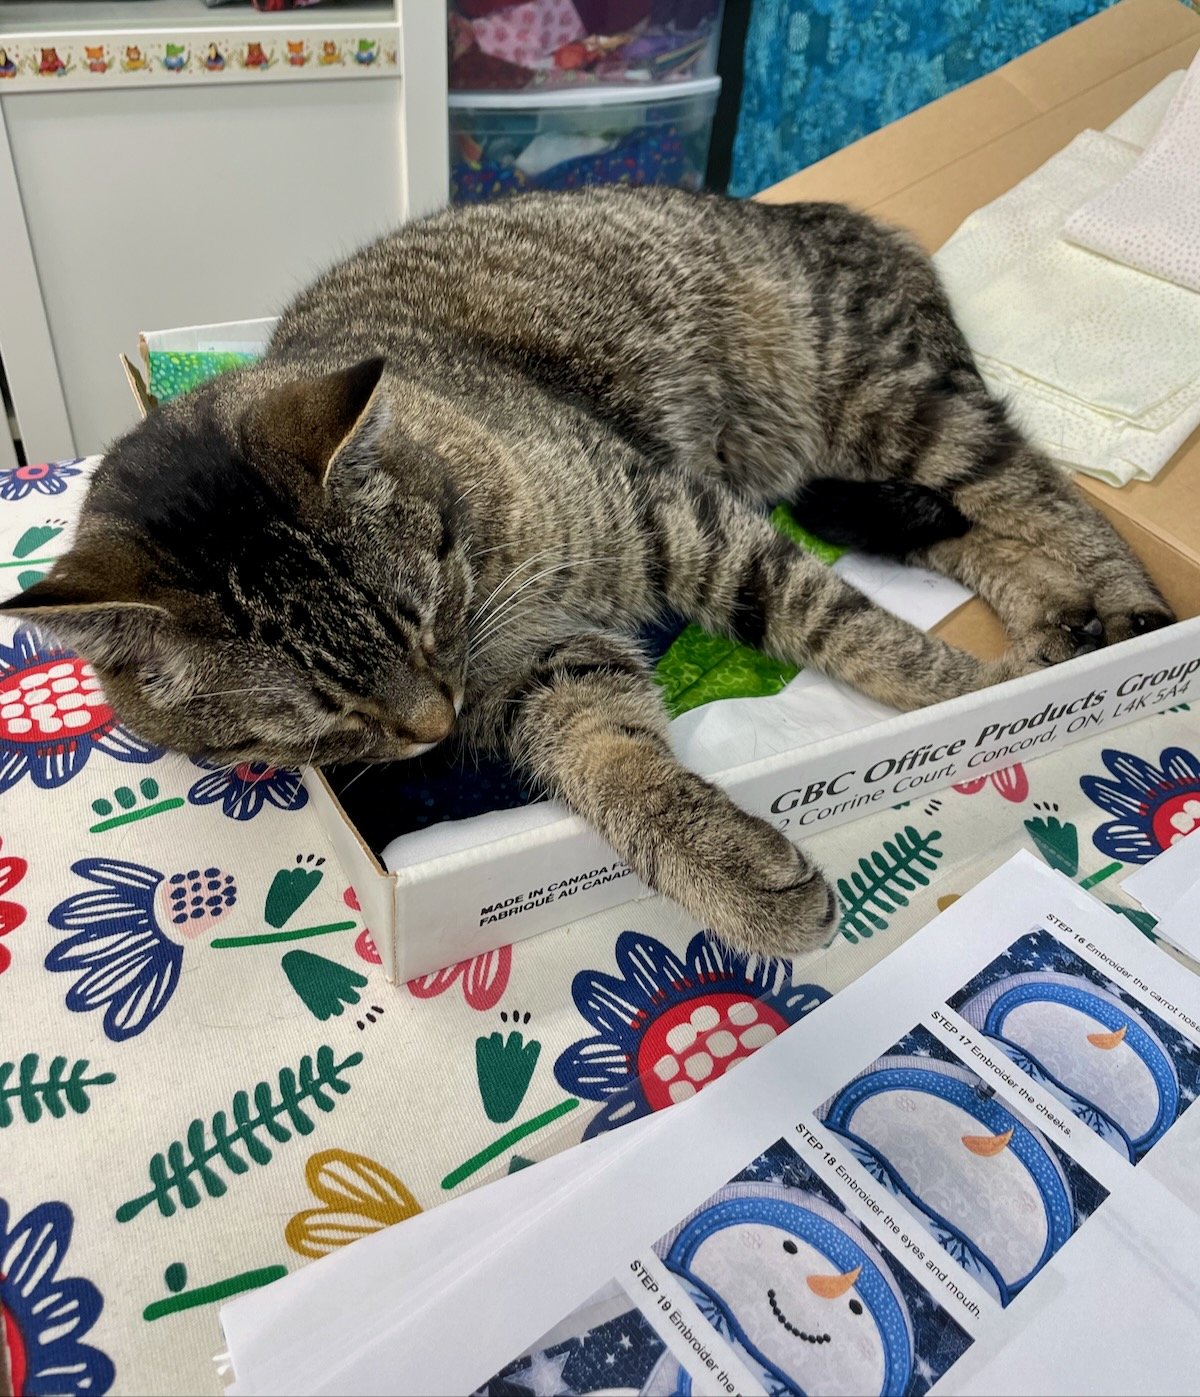
I decided to ask for some input from my purry assistant, Victor, but he was of little help…
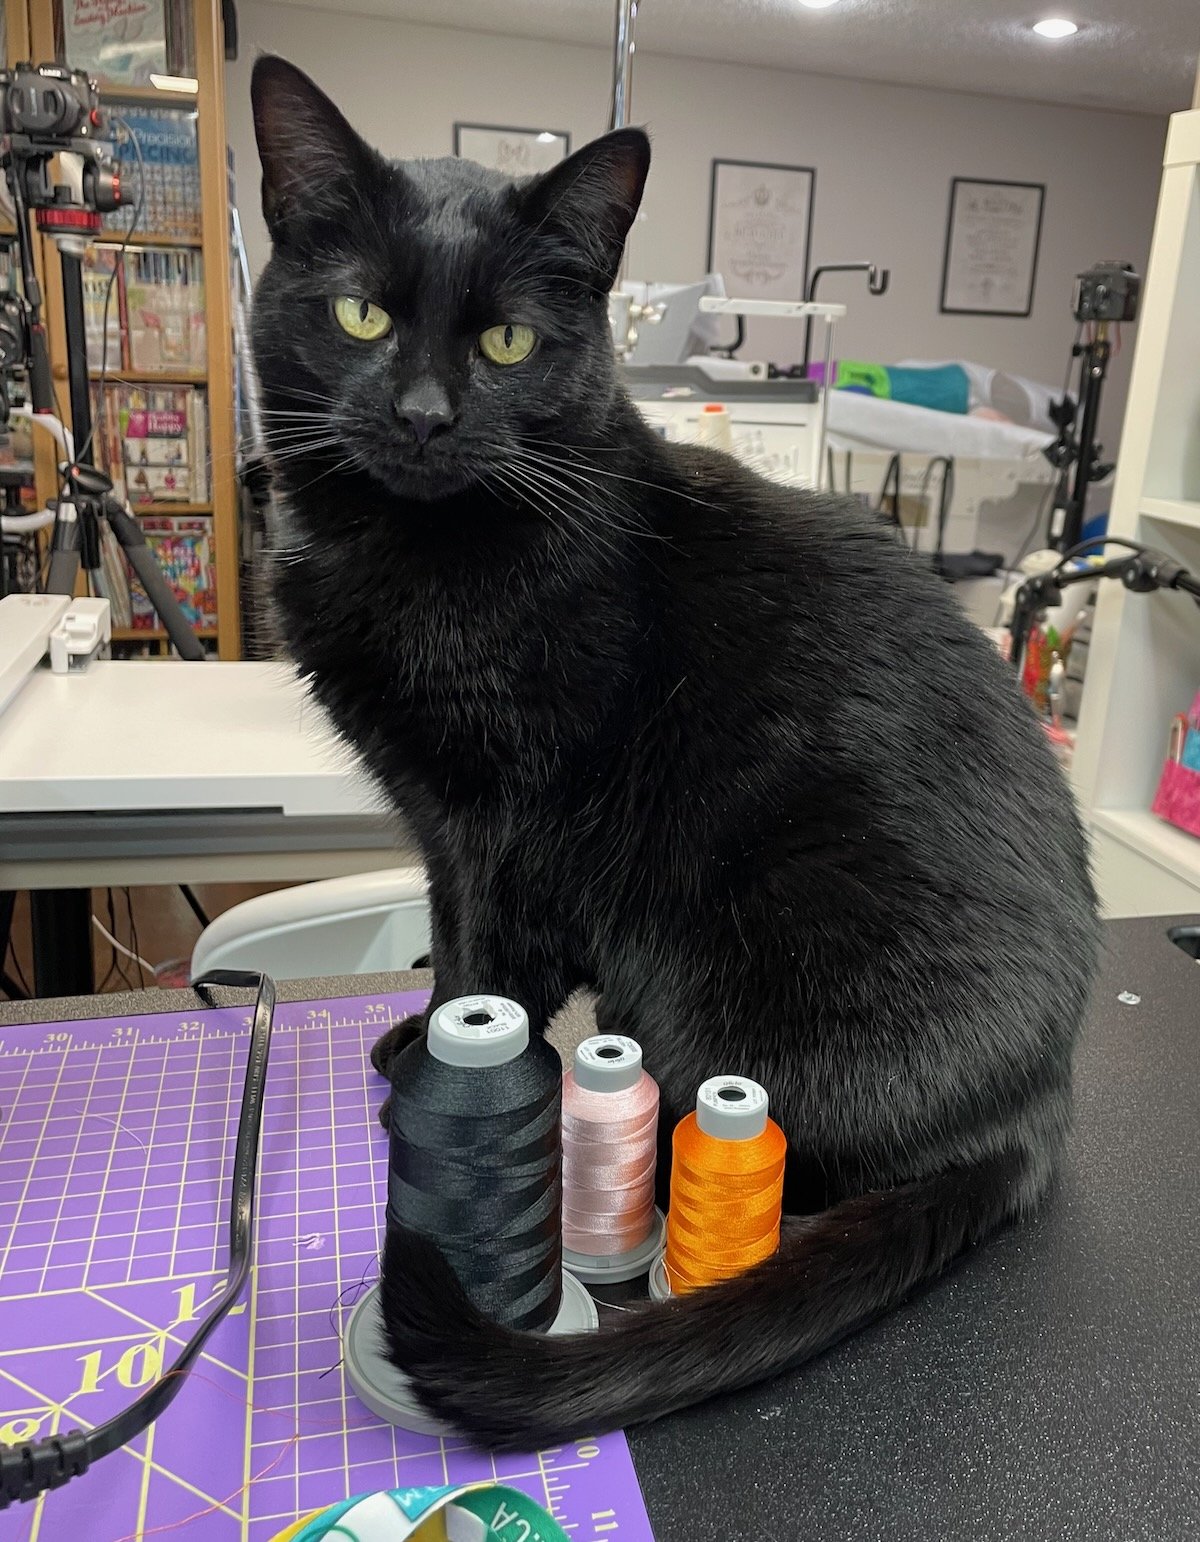
and Salem was clearly only on thread duty.
So, I did what I often do when I can’t decide on a border fabric: I lay out one potential border fabric, snap a pic and do the same with any other fabrics that I’m considering. This allows me to step away from the project and view the choice objectively.
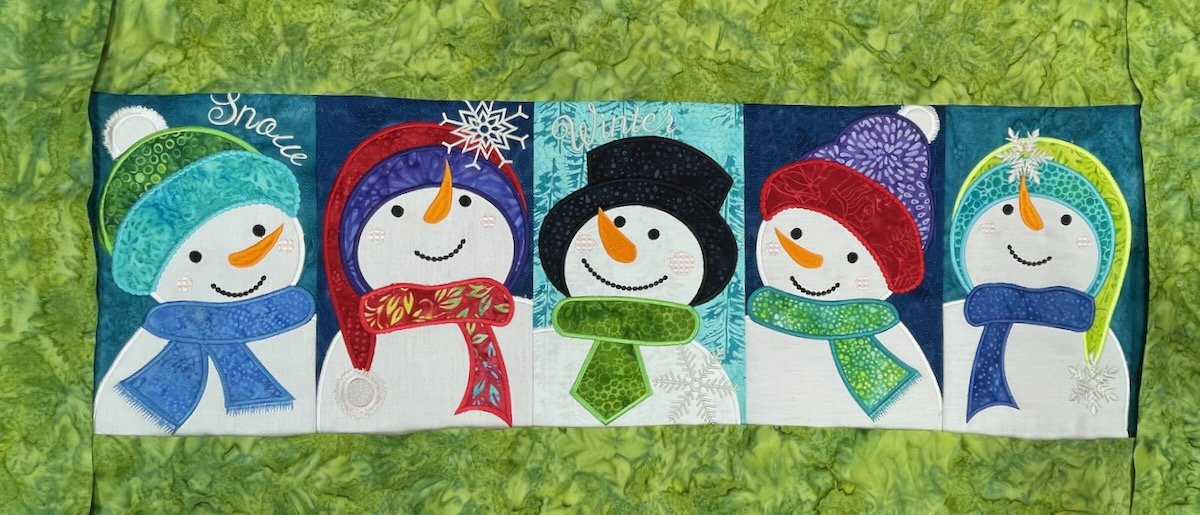
Fabric #1 or
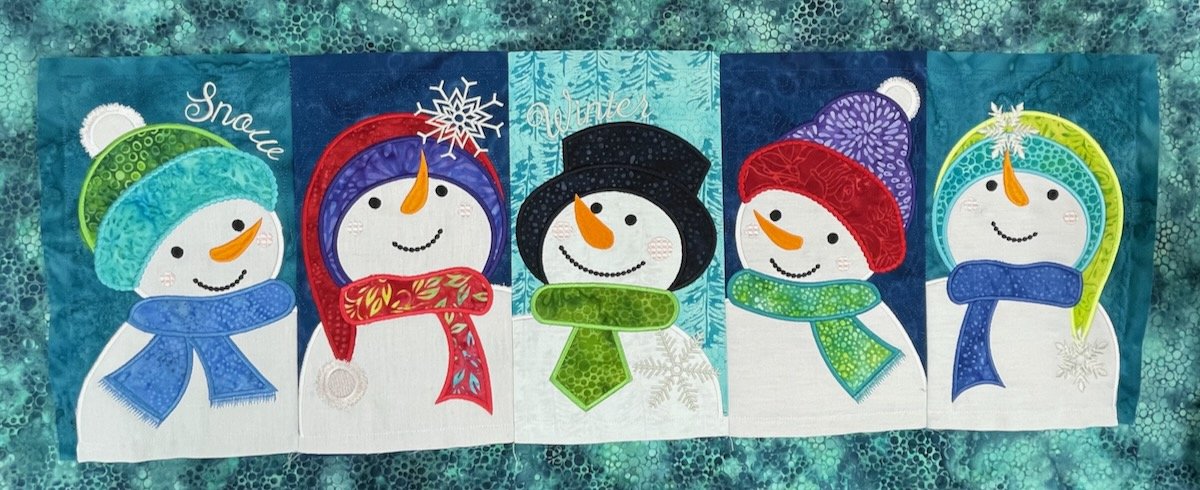
Fabric #2?
I chose to use the aqua print from The Grove fabric collection although the green was also very nice.
I cut the border fabric as well as batting strips and then stitched these around the table runner. My Oliso iron was very helpful in pressing down these thicker-than-normal fabric pieces. I used Hobbs Premium 80/20 batting for the table runner construction.
I added the backing using the pillowcase method and then did some stitch in the ditch around the individual panels and the border to connect the backing.
And it was done!
I think it turned out very well and I love how the beautiful Island Batik fabrics really make this design pop.
I’m really looking forward to seeing what projects my fellow Island Batik Ambassadors will be sharing this month. I’ll be adding them to my Pinterest board so be sure to check that frequently to view all of the December projects.
Also, be sure to check out the other Island Batik Ambassadors’ blogs to see what else they’re creating. You can find them at:
Brenda Alburl ~ Songbird Designs
Renee Atkinson ~ Pink Tulip Quilting
Megan Best ~ BestQuilter
Pamela Boatright ~ PamelaQuilts
Susan Deshensky ~ Lady Blue Quilts Studio
Brittany Fisher ~ Bobbin with Brittany
Preeti Harris ~ Sew Preeti Quilts
Mania Hatziioannidi ~ Mania for quilts
Jane Hauprich ~ Stitch by Stitch Custom Quilting
Victoria Johnson ~ Forever Quilting for You
Connie Kauffman ~ Kauffman Designs
Connie Kresin Campbell ~ Freemotion by the River
Emily Leachman ~ The Darling Dogwood
Denise Looney ~ A Quiltery
Leah Malasky ~ Quilted Delights
Maryellen McAuliffe ~ Mary Mack Made Mine
Lisa Pickering ~ Lisa’s Quilting Passion
Sarah Pitcher ~ Pitcher’s Boutique
Lana Russel ~ Lana Quilts
Julia Schweri ~ Inflorescence Designs
Gail Sheppard ~ Quilting Gail
Carol Stanek ~ Stitch with Color
Sandra Starley ~ Textile Time Travels
Jennifer Thomas ~ Curlicue Creations
Suzy Webster ~ Websterquilt
Be sure you’re following me on Facebook and Instagram so you won’t miss out on what I’ll be creating next with Island Batik fabrics!
Note: The products featured in this blogpost were given to me by Island Batik. Thank you!
I’m an affiliate for Sweet Pea Machine Embroidery and, when you purchase items through my affiliate link, I receive a small amount of compensation. Thanks for supporting my small business. ❤️
#islandbatik #islandbatikambassador #loveislandbatik #createwitholiso #olisoconnects #hobbsbattinginside #itsalluptoyouchallenge
Hand Embroidery to Machine Embroidery with the Janome 500E
One of the things I enjoy doing with my Janome 500E is to convert some of my original hand embroidery designs into machine embroidery. I thought that one of my patterns, Snowflake Brrr! would be perfect to turn into a machine embroidered wall hanging and I knew that this would be so easy with my Janome 500E.
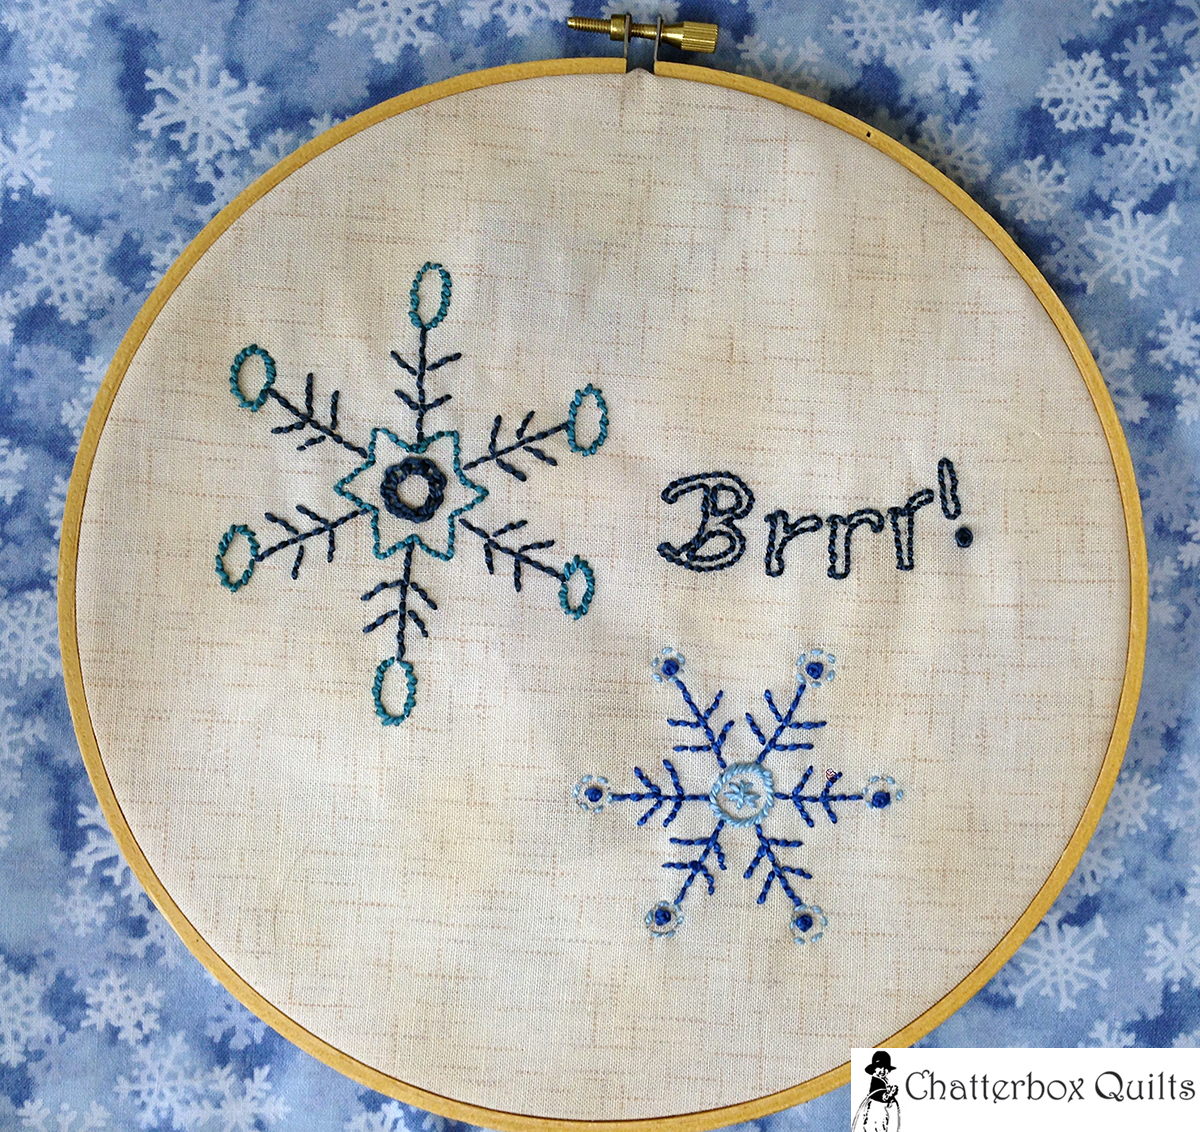
The original Snowflake Brrr! design was created using simple hand embroidery stitches (the FREE design can be found on my Craftsy store). I wanted to translate this look into machine embroidery and used the Creative Drawings software that came with my Janome Artistic Edge to translate my hand embroidery svg file into a .JEF format for the Janome 500E, choosing decorative stitches in the place of the hand embroidered ones. I had lots of fun playing around with all of the stitch choices available and could've spent hours (more than I already had!) doing this, but I eventually settled on the ones you see in the photo above for Snowflake Brrr! 2.0. I transferred the design to a USB stick and plugged it into the Janome 500E, so it would be ready for stitching.
Once I had chosen the stitches, it was time to decide on threads. I chose three different thread colours: a glittery light turquoise blue, a medium blue and a dark navy. Now it was time to prep my fabric and get stitching!
I used a tear away stabilizer underneath my fabric. I always do a test stitch out first and for this first stitching I used only one layer of stabilizer. My stitching results weren't bad, but there was some puckering around the "Brrr" in the design. For my "real" project, I added an additional layer of stabilizer and the results were perfect. I used a 10" square of white tone on tone fabric for my background.
Once I had my two layers of stabilizer underneath my fabric, I hooped everything in to the SQ20b hoop that came with my Janome 500E. I was now set to start stitching.
I was really pleased by the contrast between the different thread colours. Initially I had chosen a single running stitch for the "veins" on the snowflakes, but again, in my first stitch out, I didn't feel that they were thick enough. I chose a thicker running stitch and was glad I did as the snowflakes now appeared more balanced.
When my Janome 500E had finished its job, I removed the hoop from the machine and took a minute to admire the results.
There were a few connecting stitches between parts of the snowflakes, so I trimmed these off before I removed the project from the hoop. I found it easier to do this as the fabric was taut and this made it easier to trim off these threads.
Next step was to remove the embroidered Snowflake Brrr! 2.0 from the hoop. This is such an easy step ;)
Just in case you were wondering what the back of the project looked like - here it is! Notice the bit of a thread nest on part of the "Brrr". While this can be seen on the back, there is no indication on the front that this occurred. I think that part of the thread might have separated and gotten pulled to the back, but as long as the front looks good, this isn't a problem.
After the embroidery sandwich (my new technical term for the fabric and stabilizer) was removed from the hoop, it was time to trim it up to the desired size. In the case of this project, I wanted a 9 1/2" square. I tore away the stabilizer and was now ready to add some borders.
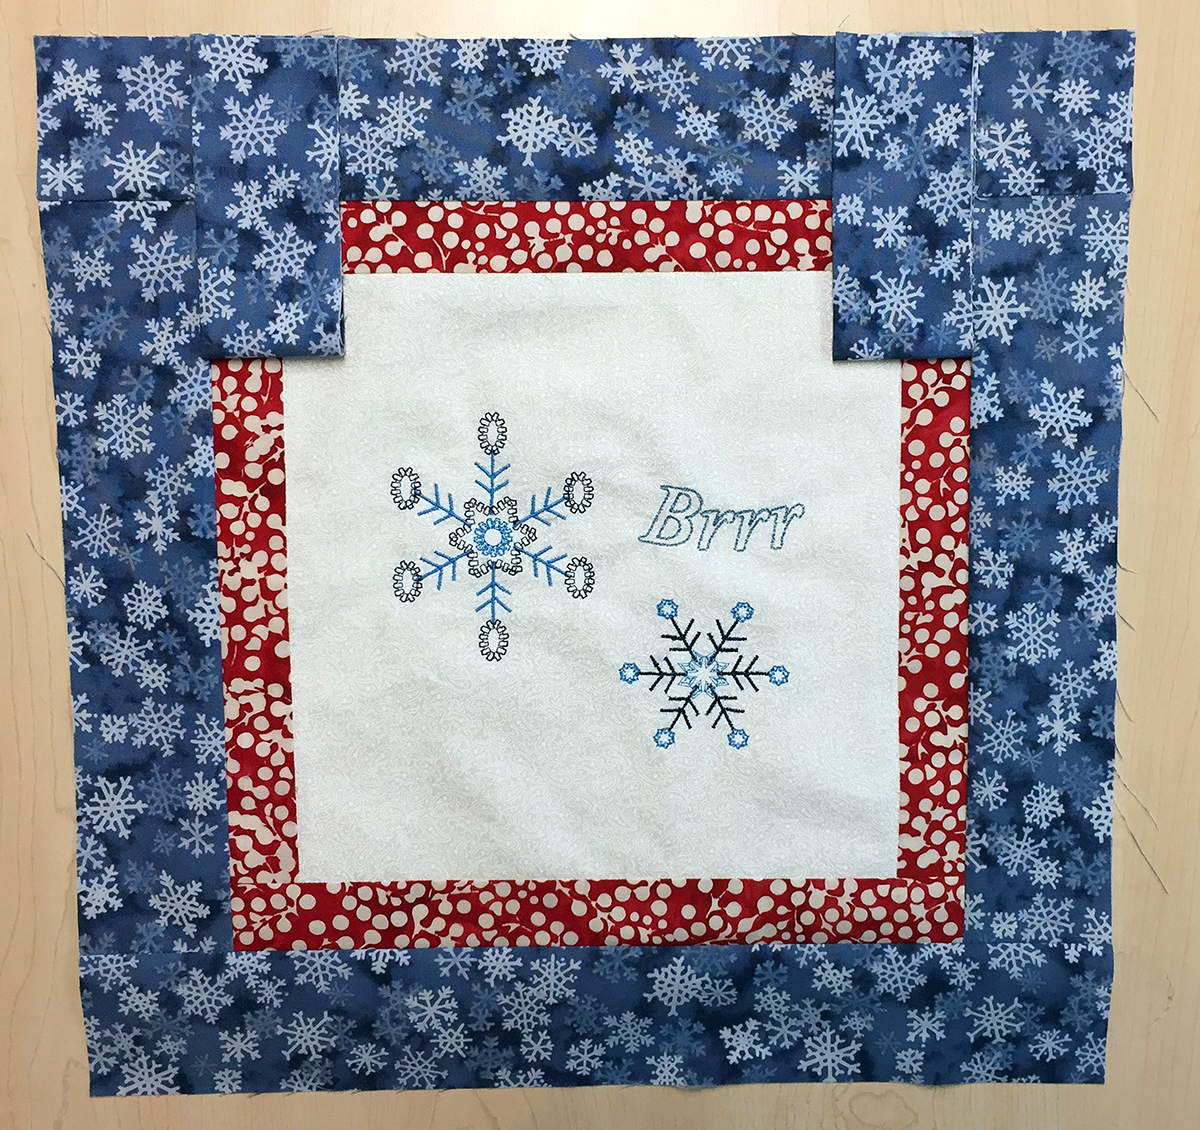
Time for some borders! I added this pop of red batik around the embroidered fabric for my first border. It was 1 1/2" wide, which gave me a 1" finished border.
I just happened to have some snowflake fabric that I knew would be perfect for this project. This second border was 2 1/2" wide to start, giving a second border finished width of 2".
I love to use hanging tabs for my smaller wall hangings, so next I created these to add to Snowflake Brrr! 2.0. I also like to avoid binding by using a pillowcase method for small projects, so I needed to insert the hanging tabs into the project before I stitched it all around. I layered my hanging tabs, with the raw edges matching the raw edge of the quilt top, then my quilt top and batting. Once these were all together, I put the backing, right side down, on the top of the above layers. I stitched all around the quilt sandwich with a ¼" seam, leaving a 3" - 4" opening to turn the project right side out.
I clipped the corners to reduce bulk and turned the project right side out. It can be a bit of a slow process, but persistence pays off and once Snowflake Brrr! 2.0 was turned right side out, all I had to do was hand stitch the opening closed before the project was ready for quilting.
I always want to know how people quilt their projects and hate the term "quilt as desired", so I won't leave you wondering how I quilted Snowflake Brrr! 2.0. I stitched in the ditch between the background and first border and between borders one and two and then added some swirls and loops in the background around the snowflakes. Pretty simple, but I wanted to be sure that the quilting didn't detract from the beautiful machine embroidery.
While I really liked the original Snowflake Brrr!, version 2.0 was much quicker to create and now that I have created the .JEF file, I can always stitch it out if I want to create another project as a gift. And... if I'm feeling creative, I can always spend some time switching out decorative stitches for other ones to see how that would look. With the Janome 500E, the possibilities are endless!
Creatively,
P.S. Did you know that Chatterbox Quilts provides FREE content to those on our mailing list? Yes, we do! Sign up here to receive FREE content directly in your email inbox every few weeks from Chatterbox Quilts. You'll be glad you did :)
Telecast Thursday - First Projects on the Janome 500E
I've had a chance to play a bit with the Janome 500E and wanted to share my first projects with you. There isn't much of a learning curve with this machine, although I did have to read the manual to learn how to set up the stabilizer and fabric in the appropriate hoop. My manual is always right by the machine so I can reference it when I'm working on a project. Do you know where your embroidery machine manual is?
For these first projects I accessed the built-in designs on the Janome 500E and played with them a bit. It's always a good idea to read the manual and then practise a few designs to become familiar with the parts and operation of the machine.
You can watch the video below or on my Youtube channel to see how these first attempts turned out.
Subscribe to my YouTube channel to receive automatic notifications when new videos are posted. If you like what you see, please share my videos with your fellow creatives.
I was pleased at my first attempt at machine embroidery and the Janome 500E did a super job! I'm looking forward to lots more playing with this machine.
Do you have any tips for me when doing machine embroidery? What type of threads and stabilizer do you like to use? Let me know in the comments below.
Creatively,
This blogpost contains affiliate links and I will receive a small amount of compensation if you purchase by clicking through these links. Thanks for supporting Chatterbox Quilts.
Telecast Thursday - First Look at the Janome 500E
Happy Thanksgiving to my American readers and viewers! I hope you're enjoying a yummy turkey dinner with family and friends.
This week on Telecast Thursday, I'm taking a look at the Janome Memory Craft 500E embroidery machine.
I've never had, nor even looked at, an embroidery machine before, preferring the look of hand embroidery, but I must say that I am seeing lots of possibilities with this machine! Did you know that besides doing amazing machine embroidery, the Janome 500E can finish the edges of your appliqué pieces? Now that's something that caught my eye!
For my initial impressions of this machine, watch the video below or on my YouTube channel.
Subscribe to my YouTube channel to receive automatic notifications when new videos are posted. If you like what you see, please share my videos with your fellow creatives.
Do you have an embroidery machine? Let me know the types of projects that you create on your machine in the comments below.
Creatively,
Welcome! I’m Kim Jamieson-Hirst of Chatterbox Quilts, a YouTube creator and host of The Quilter’s Way. I believe that quilting is more than just a 1/4” seam and that practice makes improvement and you are improving every day!
Contact me at kjh@chatterboxquilts.com.
Want to improve your quilting and have fun doing it? Join The Quilter's Way, a private online membership site that creates successful quilters.
As an Amazon Associate I earn from qualifying purchases from links that you may find on the Chatterbox Quilts’ website.


