Getting an Even Seam on the Janome MC9400

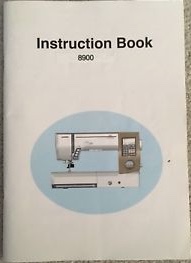
Some people use masking tape or a stack of post-it notes or other methods to stitch a seam a specific distance from the sewing machine needle. If you own a Janome MC9400, there is another way to get an even seam.

 
Janome MC9400 Cloth Guide - Off.jpg
 

The Janome MC9400 comes with a cloth guide that will take the place of any of these solutions and ensure that you get an accurate seam as you stitch along. It is one of the accessories that you’ll find included when you buy the machine and sometimes quilters aren’t really sure what it is! It’s what you can use to stitch a perfect seam! The cloth guide can be set to whatever distance you want from the needle to keep an even seam. If you struggle to use the edge of your HP foot to get a perfect ¼” seam (a method I love to use when piecing!), you can use the HP foot, HP needle plate and the cloth guide for the best of all worlds.


To use the cloth guide, you need to remove the acrylic extension table from the Janome MC9400. The cloth guide snaps into place on the bed of the Janome MC9400 and can be moved closer or further away from the needle, depending on the width of the seam you want to stitch. This is especially helpful for garment sewing when you need a 5/8” seam.


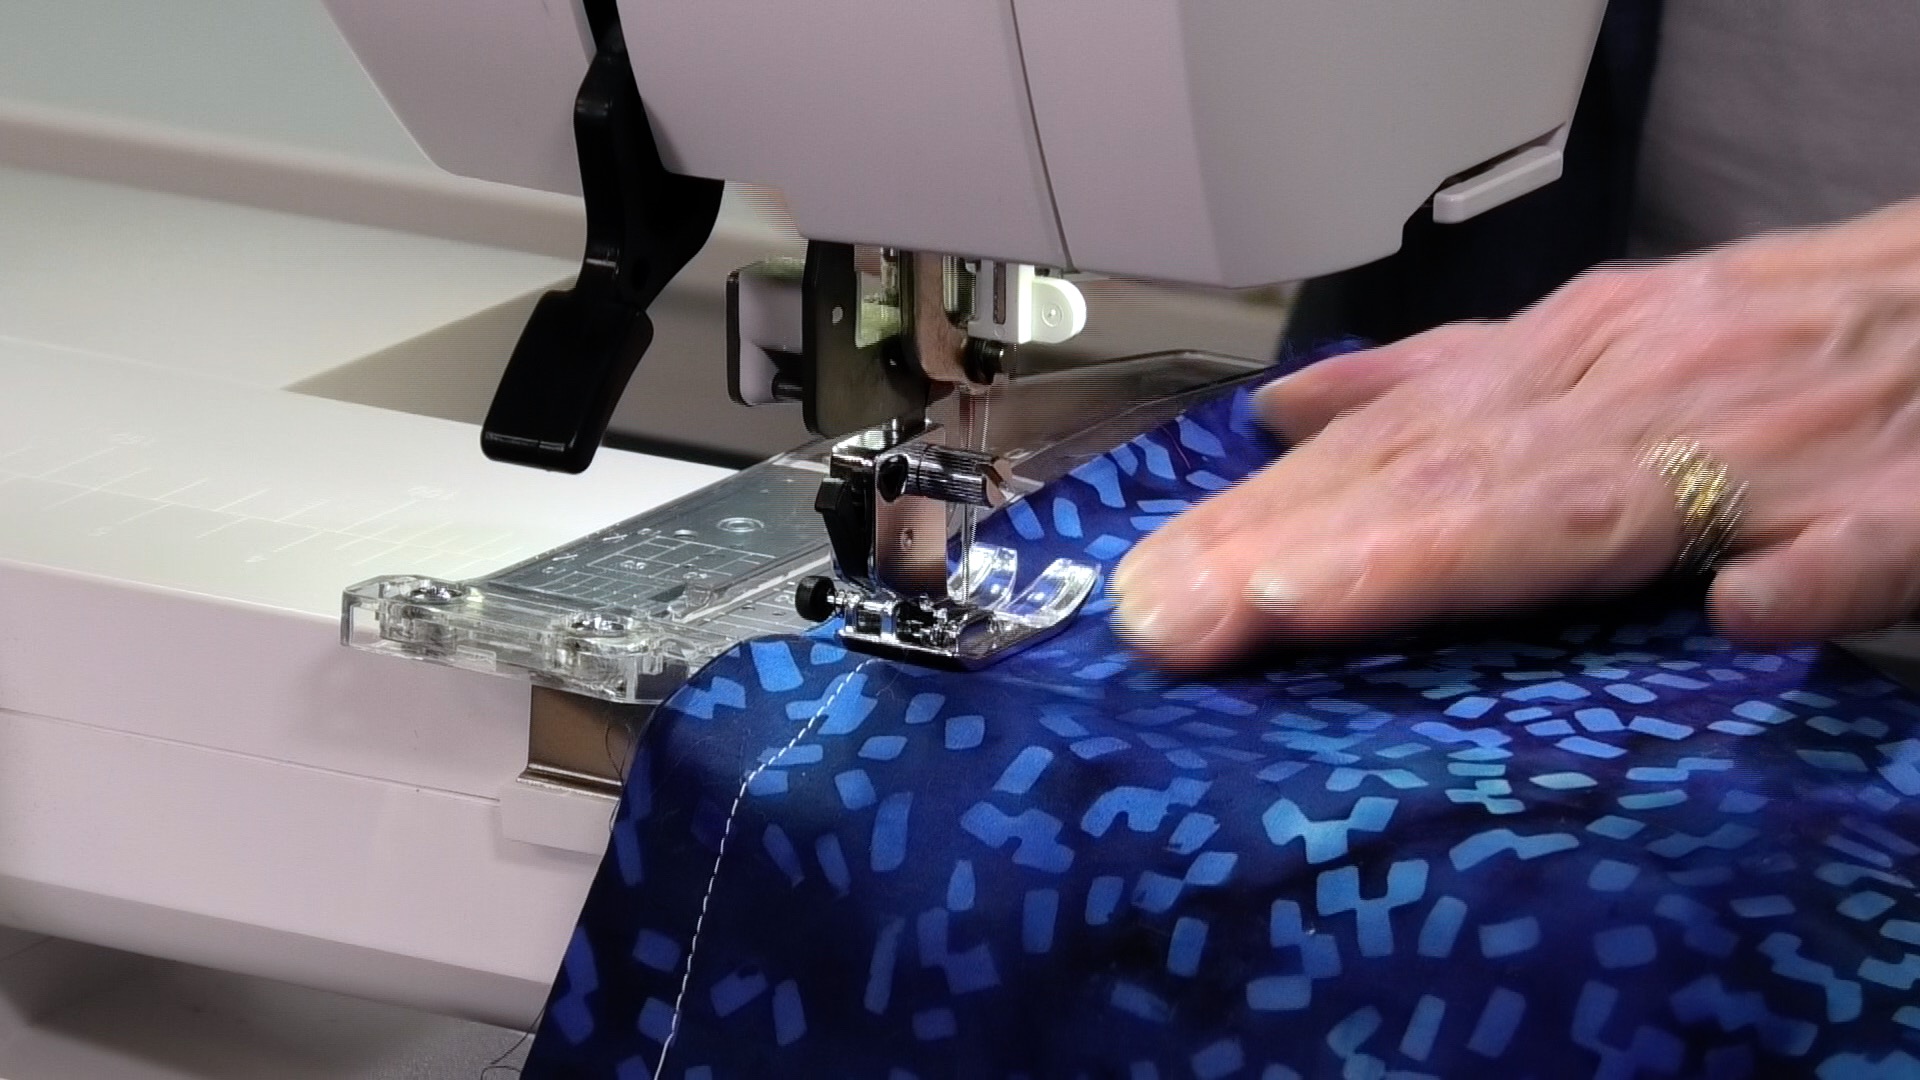
Another way that I think the cloth guide would be really helpful would be when you want to stitch several rows of decorative stitches a specific distance from the hem or cuff of a garment. You could use the cloth guide to stitch the first line of decorative stitches and then adjust it to where you want the subsequent stitching to be. Information on how to attach and use the cloth guide can be found on page 26 in your Janome MC9400 manual.

Click on the photo below to watch a video showing you how to attach and use the cloth guide.


Creatively,

Kim's signature small aqua.jpg
 

BIG ANNOUNCEMENT: Enrolment in The Quilter's Way is now open. If you want the solution to your quilting problems and become the best quilter you can be, you need to be a member! Join here.

P.S. Did you know that you can sign up to receive emails full of FREE quilting goodness? Click here to receive FREE content directly in your email inbox every few weeks from Chatterbox Quilts. I know you'll be glad you did!

5 Quick Quilt Tips to Save Time and Frustration

Here are 5 quick quilt tips that can save you time and frustration:

1. Having problems threading your sewing machine? First, check your manual to be sure that you are following the exact threading path - it's easy to miss out on one and it makes a HUGE difference! Pay special attention to whether your presser foot should be up or down when threading the machine - machines do vary on this, so again, refer to your manual. If your sewing machine doesn't have an automatic needle threader, it can be hard to see the hole in the needle. To make it easier to see the needle hole, hold a coloured piece of paper behind the needle. This should make it just a bit easier.

 
Janome 8900 manual cover.jpeg
 

2. While your walking foot is great for walking foot quilting, I like to use it when stitching on borders or other long strips of fabric. It helps to prevent that "fabric slide" that can happen when the top fabric is getting pushed along at a quicker rate than the bottom fabric resulting in an overlap at the end. 

 
Janome walking foot close up.jpg
 

3. Do you ever make mistakes and cut the wrong width when cutting fabric strips? When you are cutting multiple strips, put painter's tape or washi tape on the back of your ruler at the desired measurement. It's much easier to cut the right width of strips when there is a mark to show you where to cut!

 
Image courtesy of craftsy.com

Image courtesy of craftsy.com


4. Your mobile phone can be one of your best quilting tools! If you are trying out different block arrangements in a quilt, it can be hard to remember which variation you preferred. To help with this, I take photos with my phone and can then later compare the various layouts to choose the one I like the most. This method also makes it easy to share these photos in the Chatterbox Quilts' Facebook group to ask for other members' opinions - always helpful! I also use my phone to determine which fabric is darker or to tell if there is enough contrast between fabrics by taking black and white photos of the fabrics with my iPhone. 


5. Do you want to save time and avoid hurt fingers? Use the Multi-Purpose Quilt Spray to sandwich your quilts. Not yet using this method? Click here to get the FREE recipe and instructions. You'll love it - and your fingers will thank you :)


You may be interested in the guide “Time Saving Tips for Quilters” where I have compiled a list of time saving tips. Click here is you want more information.

Creatively,

Kim's signature small aqua.jpg


Stay Safe in Your Studio!

We don't often think of how to stay safe in our quilt studios, but we really should! In this video Kim shows you some of the possible dangers in your studio and how to stay safe.

Be sure that your iron is turned off before leaving your quilt studio.

We all use extension cords, but this can pose a tripping hazard. Keep safe by taping or rerouting the path of extension cords.

Keep your sewing machine safe by plugging it into a power bar with a surge protector.

Always keep your rotary cutter closed when not using it. 

It's a good idea to have a first aid kit or band-aids in your quilt studio for those cuts that often seem to happen.

Have your cell phone or another phone close by in case of an accident where you need to call for help.

For more information, click on the image below.

Do you have other suggestions for ways to stay safe in the quilt studio? Let me know in the comments below.

Creatively,

Kim's signature small aqua.jpg
 

P.S. Did you know that you can sign up to receive emails full of FREE quilting goodness? Click here to receive FREE content directly in your email inbox every few weeks from Chatterbox Quilts. I know you'll be glad you did!

Quilting Books for Autumn, Halloween and Thanksgiving

It's that time of year again! Cooler temperatures and shorter days mean that fall is just around the corner.

 
Quilting Books for the Autumn Season - 1.jpg
 

I love fall quilt projects, whether it is just for autumn or for Thanksgiving (in October for Canadians and November for Americans) or my favourite, Halloween. 

 
Quilting Books for the Autumn Season - 2.jpg
 

I've gone through my personal quilt book library and pulled out a few favourite quilting books that have projects for either autumn, Thanksgiving, Halloween or all three! They are (in no particular order):

'Tis the Autumn Season by Jeanne Large and Shelley Wicks

Festive Fall Quilts by Kim Schaefer

A Harvest Melody by Nancy Halvorsen 

Easy Does it for Autumn by Nancy Halvorsen

Acorn Hollow by Nancy Halvorsen

Stitches from the Harvest by Kathy Schmitz

Critter Halloween by Brandywine Designs 

 
Quilting Books for the Autumn Season - 4.jpg
 

Where possible, I have included links so you can take a closer look at these books - or get your own copy.


Click on the image below to get a sneak peek of each of these books.


Do you have a favourite book - or two - that have seasonal projects in them? Leave me a comment below to tell my the ones you like the best.

Creatively,


P.S. Did you know that you can sign up to receive FREE emails full of quilting goodness? Just click here to receive FREE content directly in your email inbox every few weeks from Chatterbox Quilts. I know you'll be glad you did!

P.P.S. I am an Amazon affiliate and will receive a small amount of compensation if you purchase a product by clicking through links in this blogpost. This allows me to continue to provide you with FREE content each week. Thank you.

What a Beginner Quilter Really Needs

When you first start quilting, you can quickly be overwhelmed by the notions and accessories that you "need" to quilt. Kim shows you what essentials you actually need to have in your tool kit when you first start quilting.

While you may add more items to your quilt studio as you progress in your quilting journey, you really need the following items to start:

A rotary cutter
A cutting mat (or self-healing mat)
A quilting ruler
An iron
A pressing surface (tutorial on making a pressing surface is below)
Pins
Seam ripper (yes, you will use this a time or two!)
Fabric
Batting
Multi-Purpose Quilt Spray (recipe and information below)
Sewing Machine with 1/4" foot, walking foot and free motion or darning foot

To learn more, click on the image below.

What are the essentials that you think a beginning quilter needs? Let me know in the comments below.

Creatively,

Kim's signature small aqua.jpg
 

P.S. Did you know that you can sign up to receive emails full of FREE quilting goodness? Click here to receive FREE content directly in your email inbox every few weeks from Chatterbox Quilts. I know you'll be glad you did!