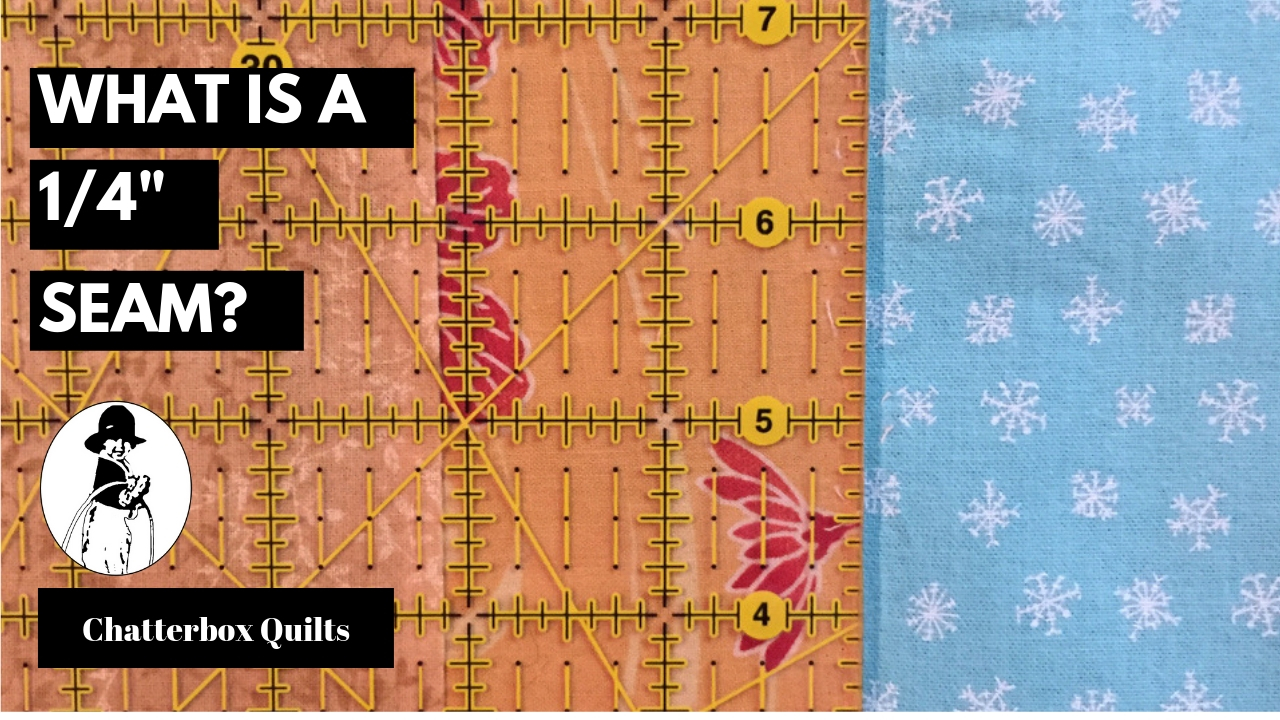
How do you Stitch the Perfect 1/4" Seam?
All quilters know that achieving a “perfect” ¼” seam is the standard of excellence in quilting, but sometimes you might want to use a scant ¼”, especially when you have a multi-seamed project.
Most quilting sewing machines have a ¼” foot – some machines, like the Janome MC9450 have several ¼” feet to suit the preference of every quilts.
Once you have your ¼” foot on your sewing machine, you need to test to see if your ¼” foot is truly allowing you to stitch a ¼” seam. It’s really easy to check this. You need to take 3 pieces of fabric 2½” wide and stitch them together with your ¼” foot. The centre piece should be 2” as ¼” of the fabric has been taken into the seam on both sides - ¼” + ¼” = ½”.
If the centre piece is larger than 2”, your seam allowance is too small/narrow and needs to larger.
If the centre piece of fabric is smaller than 2”, your seam allowance is too big/wide and needs to be narrower. In either case, you’ll need to make adjustments.
How do you do this?
If your sewing machine has the ability to move the needle position, this is what you will need to do in either of these situations. If your seam allowance is too narrow, you will need to move your needle position to the left – away from your fabric edge.
If your seam allowance is too wide, you will need to move your needle position to the right – closer to the fabric edge.
Well this is fine if you have a sewing machine that has a needle adjustment feature, but… how do you get a ¼” seam allowance if you don’t have a ¼” foot?
There are several methods:
1. Use your ruler to measure ¼” away from the needle and mark this with painter’s tape. Can then use purchased notions such as these purple strips – or make your own guides.
2. You can use Post-it notes or several pieces of masking tape or painter’s tape stacked up on one another and place these at the ¼” mark on the bed of your sewing machine.
3. You can also stack up several (many!) index cards, one on top of one another to use as a seam guide.
I’ve covered how to get an accurate ¼” seam on your sewing machine, but what if you want a scant ¼” seam and what is this anyway? A scant 1/4” seam is just a thread or two narrower than a ¼” seam. It can come in handy when you have several seams all coming together as the thread and fabric take up some of your seam allowance, so in this situation, a scant ¼” seam might be the right solution.
Click on the image below to learn more about stitching a ¼” or scant ¼” seam.
Whether you are using a true ¼” seam or a scant ¼” seam allowance, be sure to use this throughout the entire project so that all of your pieces will fit together the way they should.
How do you achieve the “perfect” ¼” seam on your sewing machine? Let us know in the Comments below.
Creatively,
P.S. Do you strive to improve your quilting skills? Do you want to have fun doing it? Do you want to meet other quilters in a supportive, safe environment? If you answered “yes” to these questions, you need to join The Quilter’s Way. The Quilter’s Way is the only quilting membership site that includes both training and an active, supportive online community. It’s not your grandmother’s quilting circle! Don’t wait another day! Join now.
P.P.S. Did you know that you can sign up to receive emails full of FREE quilting goodness? Click here to receive FREE content directly in your email inbox every few weeks from Chatterbox Quilts. I know you'll be glad you did!
P.S. I am an Amazon affiliate and, if you purchase items by clicking through the links in this post, I will receive a small amount of commission. This doesn’t cost you any more $$$, but helps me to continue creating free content for you. Thanks!

