Brother Scan N Cut

Restick Your Brother Scan N Cut Mat

After you’ve used your Brother Scan N Cut mat over and over, you’ll find that it tends to lose its stickiness. I was looking for a way to refresh my mats so I could delay purchasing any more – yah, I can be cheap that way!

I usually use my Brother Scan N Cut for cutting fabric and the method I’ve found is great for resticking mats you would use for fabric cutting. I wouldn’t suggest using this method on a mat on which you intend to cut paper or cardstock as it will make the mat really sticky and will probably make it very difficult to remove paper items.

Here’s what you’ll need to restick your Brother Scan N Cut mat:

Parchment paper

Rubbing alcohol (in a spray container, if possible)

Baby wipes

Used credit or gift card

Aleene’s Tack-it Over and Over Repositionable Glue

Small foam paint brush

The mat you want to restick

Once you’ve gathered all of your items together, cover your working surface with some parchment paper and place the not-sticky-but-soon-to-be mat on top of it. If you have a high tack adhesive fabric support sheet on top of your mat, remove this first.

To clean the mat, spray it with rubbing alcohol. Once the mat is wet, use the baby wipes and/or the used gift or credit card to get off all of the bits and pieces of lint, thread or what have you that has stuck to the mat. I find the plastic gift card works really well to scrape off those pieces that are a bit stubborn. Be sure to use the rubbing alcohol in a well ventilated area.

Once the mat is clean, it should no longer be sticky. You’ll need to let it dry thoroughly before the next step.

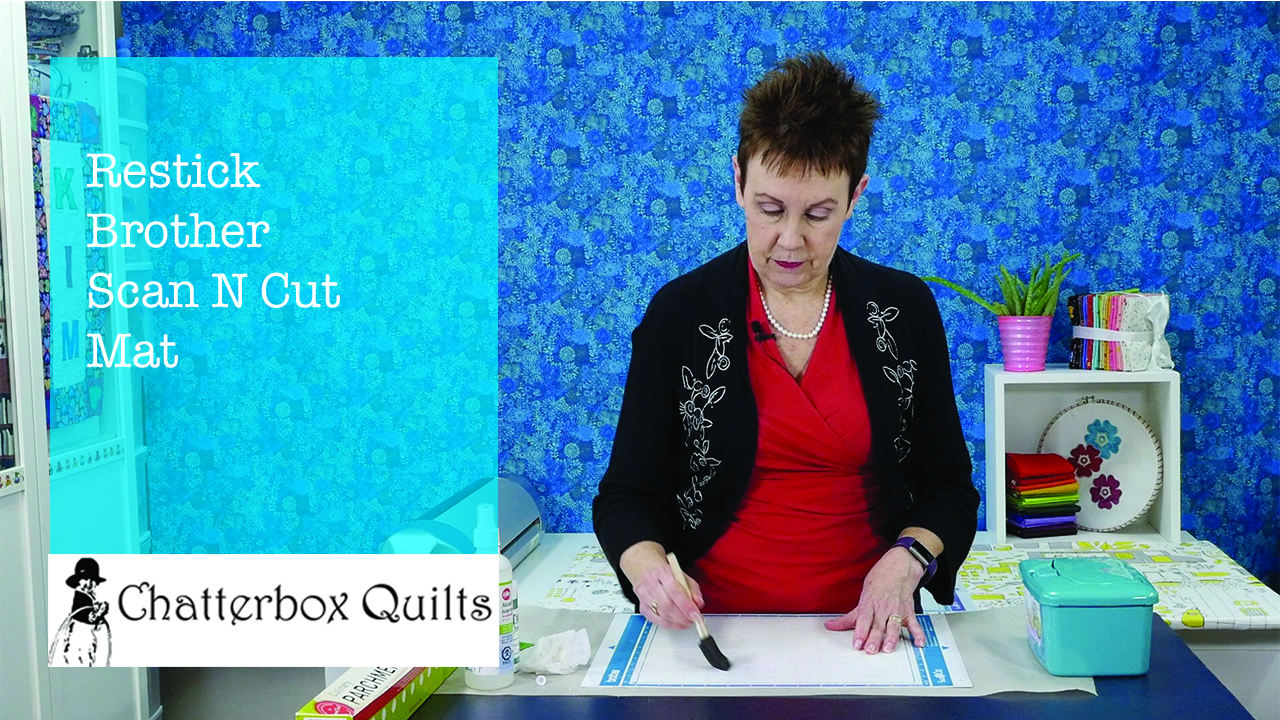
Once the mat is completely dry, it’s time to make it sticky again! Take the Aleene’s Tack-it Over and Over Repositionable glue and apply it to the mat inside the blue or purple lines on the mat – in the area where you would normally affix the fabric. Use the paint brush to wipe the glue evenly over the mat and let dry completely.

Once it is dry, it is ready to be put to use. You’ll certainly notice how sticky it now it! Be sure to keep the mat clean by covering it with the clear vinyl that came with it and clean it with a baby wipe in between cuttings.

Once the mat starts to lose its stickiness, you can just repeat the process again!

Click on the image below to watch a video on my YouTube channel showing you the entire process.

P.S. Did you know that you can sign up to receive FREE emails full of quilting goodness? Just click here to receive FREE content directly in your email inbox every few weeks from Chatterbox Quilts. I know you'll be glad you did!

P.P.S. I am an Amazon affiliate and will receive a small amount of compensation if your purchase a product by clicking through links in this blogpost. This allows me to continue to provide you with FREE content each week. Thank you.

Free Valentine's Project with the Brother Scan N Cut

Looking for a quick Valentine's Day project to create with your Brother Scan N Cut? I have just the one for you!

 
Charlie helped in the fabric selection for this project

Charlie helped in the fabric selection for this project


I decided to whip up a quick wall hanging for Valentine's Day using some of the pre-loaded designs in my Scan N Cut. Here's the tutorial, so you can create your own wall hanging.

I wanted to create a vintage-y look with some scallops and hearts, so I decided to have a sprinkling of hearts on a scalloped background. This was so easy as these designs are already included in the Scan N Cut library.

 
Background layer was design BA-A010 in the designs already in the Scan N Cut

Background layer was design BA-A010 in the designs already in the Scan N Cut


I chose a scalloped design for the appliqué background layer and enlarged it to be 10" x 16" (okay, it was really 10.01 x 16", but that's just a smidge off). I saved this to my library so I could use it again. Then I selected the heart motif and created four hearts; making each one a slightly different width and height.

Heart #1

Heart #1

Heart #2

Heart #2

Heart #3

Heart #3

Heart #4

Heart #4

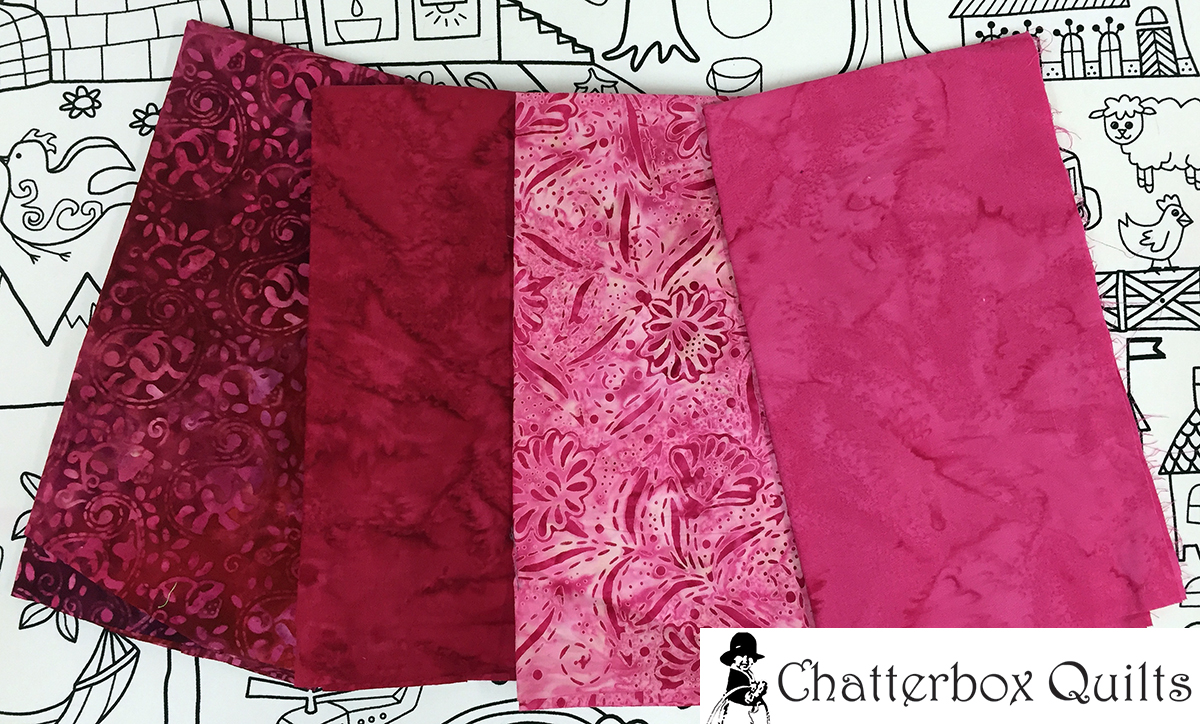
Then the fun part began: choosing the fabrics! I decided to go with batiks for the hearts and managed to find 4 different reds/pinks for them. I decide to stick with a white fabric for the scalloped appliqué background so the hearts would really contrast with it. I also chose the patterned pink batik for the layer under the scalloped background

 
 Lovely shades of red and pink batiks for the heart appliqués

 Lovely shades of red and pink batiks for the heart appliqués


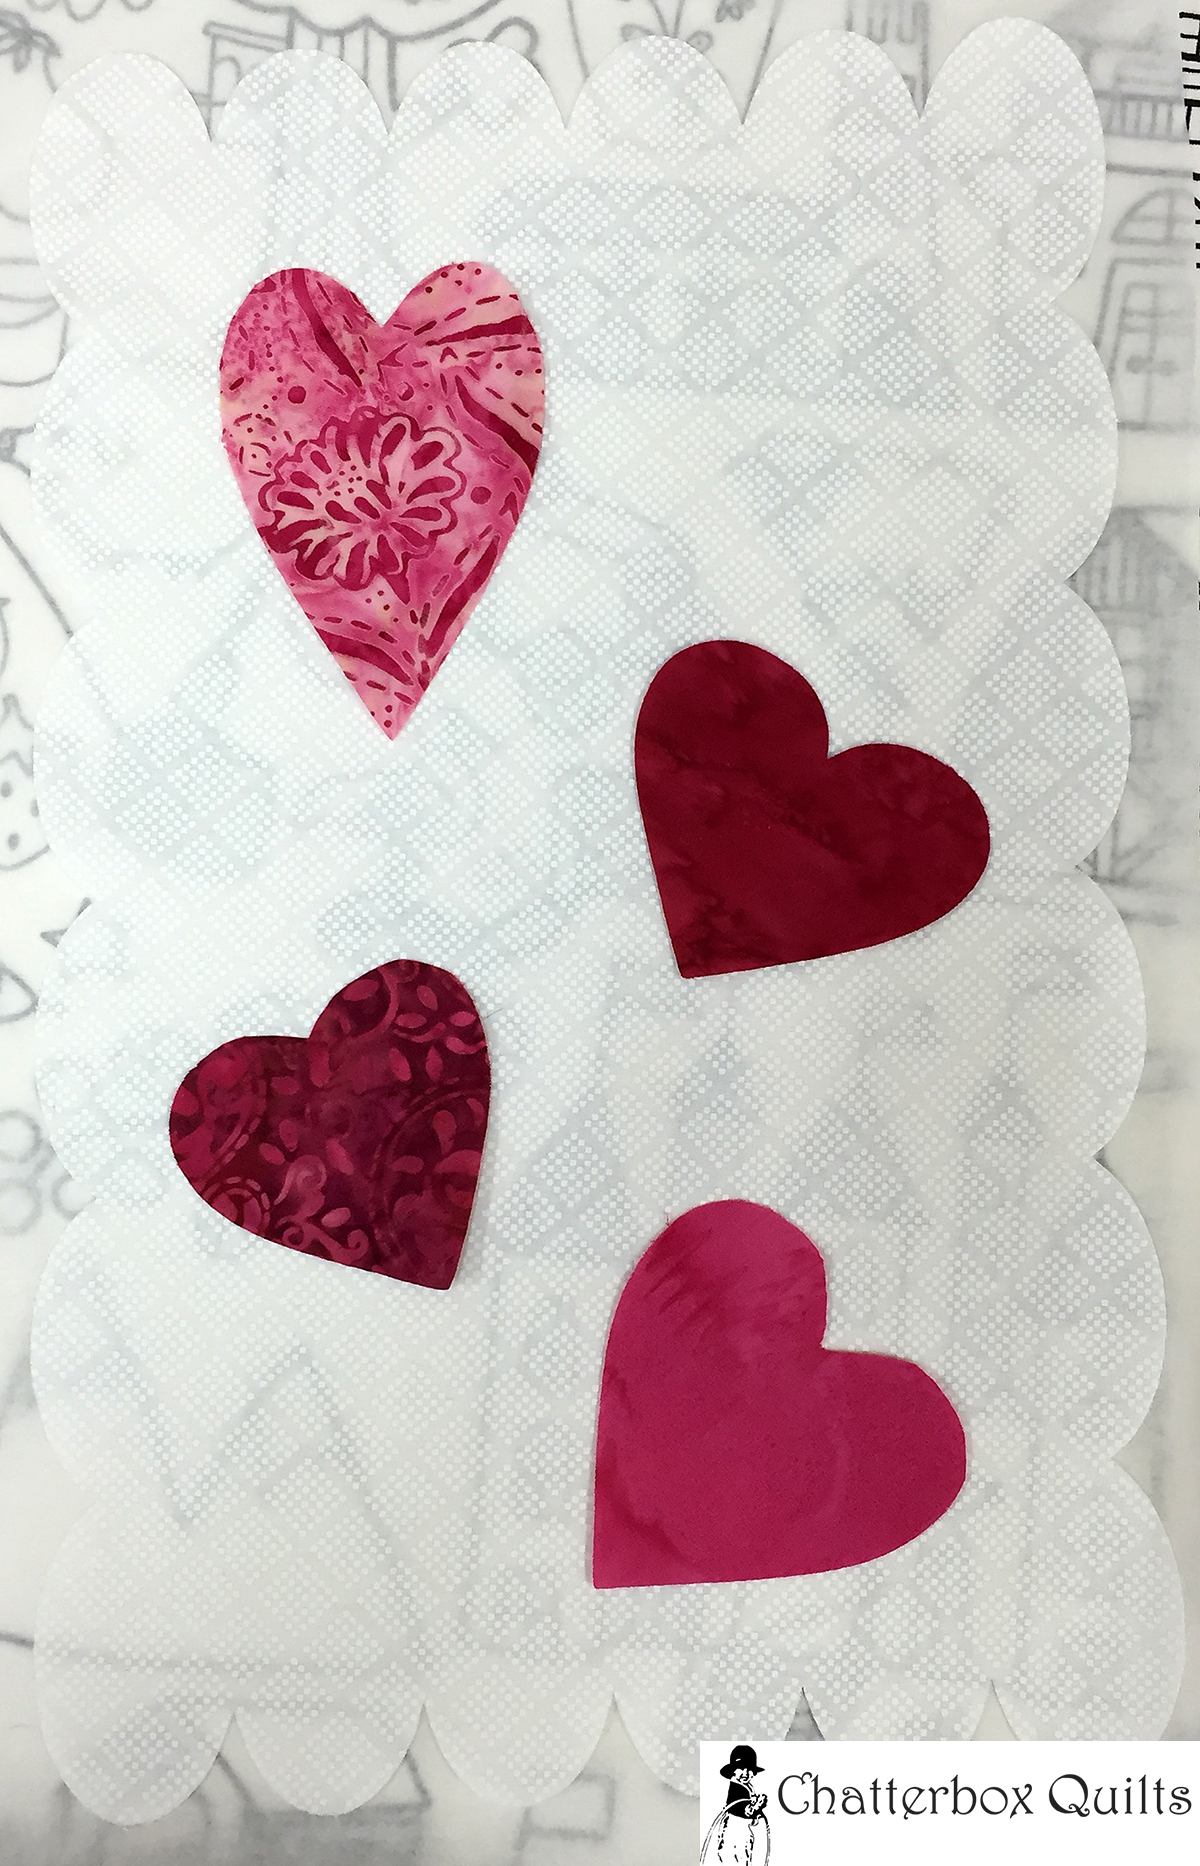
I applied fusible web to the back of the heart fabrics, loaded them onto my Scan N Cut sheet and cut out the hearts. Easy!

Next, I fused fusible web to the back of the fabric that was going to scalloped and cut out the layer that would be underneath the hearts. Note, that I used the 12" x 24" mat to cut this part.

 
Lovely scalloped background all cut out!

Lovely scalloped background all cut out!


I arranged and fused the hearts to the scalloped background and then fused it all to a large piece (14" X 18") of pink batik. It was looking really great! I wanted to add a border around it all, so I selected a pink and red polka dot fabric and cut out 3" borders.

 
Hearts fused to the scalloped appliqué background

Hearts fused to the scalloped appliqué background


I thought it needed a bit more pizazz, so I inserted some 1" white ribbon between the background and the border – sort of like a flange. (I always save ribbons from gifts, candy boxes, etc. just for this purpose). I did this only on the sides so it created a nice linear frame before the outer border.


Next I added the top and bottom borders. Here's what the wall hanging looked like at this point.


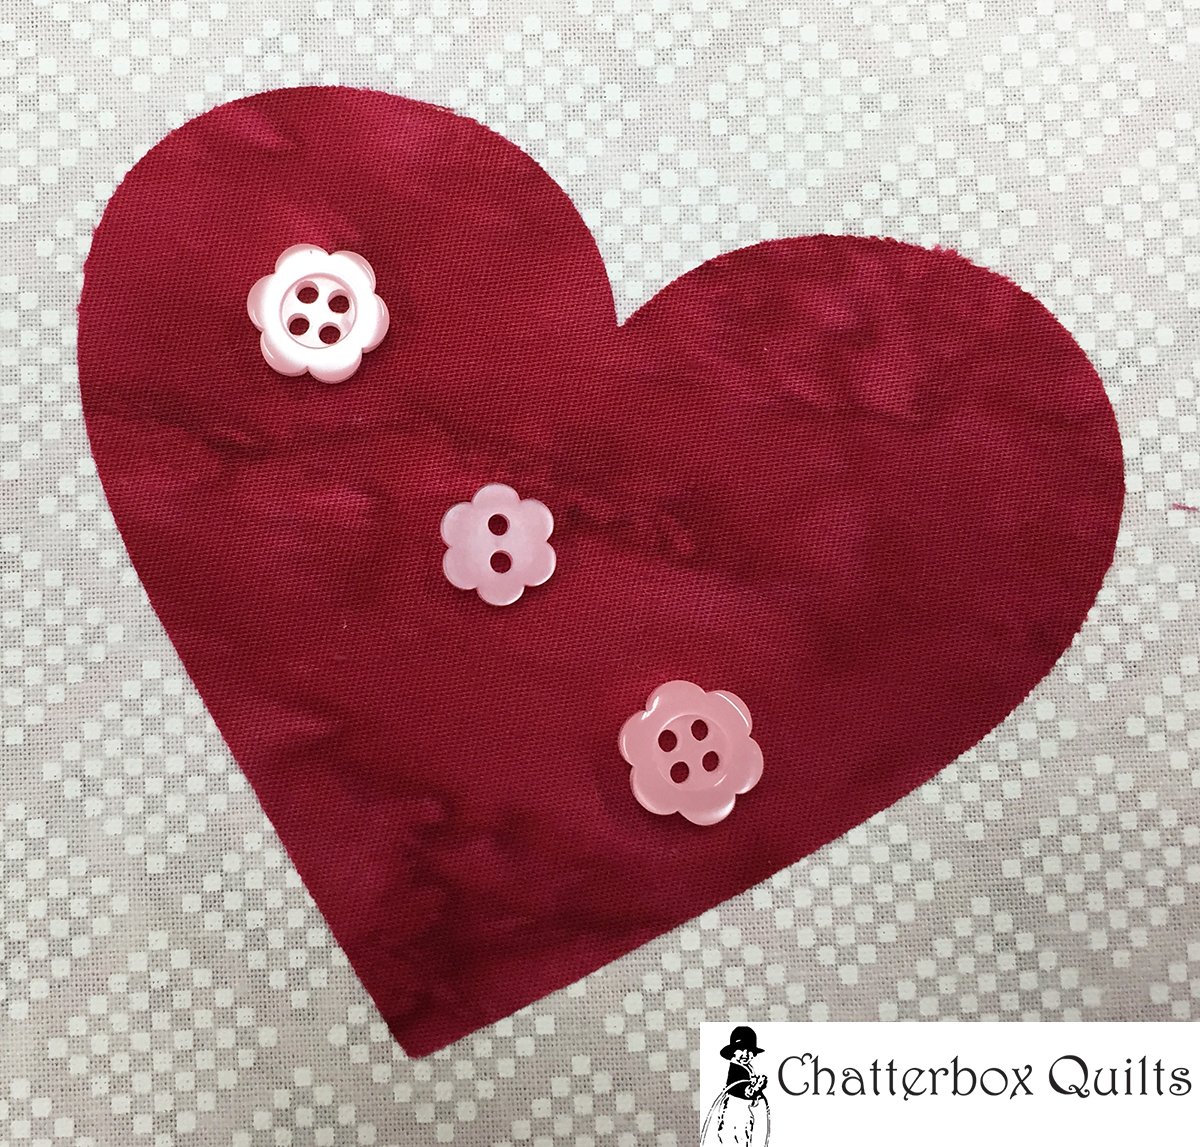
I was pleased with it but thought it needed a little something – how about some buttons? I just happen to have a few of these in my stash… so it was easy to find several different colours and types to jazz up the hearts.

Heart #1 all buttoned up!

Heart #1 all buttoned up!

Heart #2 looks great with floral buttons in pink

Heart #2 looks great with floral buttons in pink

I used tiny buttons on Heart #3

I used tiny buttons on Heart #3

I decided to add four buttons on the last heart - just because ;}

I decided to add four buttons on the last heart - just because ;}

Here's a look at the final wall hanging top.

 
Yes, I know that there are only 3 buttons on the last heart - which one do you like better?

Yes, I know that there are only 3 buttons on the last heart - which one do you like better?


Since this is a wall hanging, I've decided to leave the edges of the appliqués unfinished (I know, daring, right?!). I just have to quilt this wall hanging and then stitch on the buttons (I may get lazy and just glue them on) and I'll have the perfect Valentine's Day decoration.

There's still time to create this Valentine's Day project with your own Scan N Cut machine, so I hope you'll give it a try.

Creatively,


Converting Troublesome SVG Files for the Brother ScanNCut

As I like to do fusible web appliqué, I find the Brother ScanNCut very helpful in cutting out intricate designs in fabric. It does a much better job than I could with a pair of scissors! I've found many svg files on the internet that you could cut with the ScanNCut, but sometimes I have trouble importing these files to scanncutcanvas. Note: This is the Canadian website - choose the appropriate website for your country. 

This tutorial is for the Brother ScanNCut CM550DX.

I need to be able to import these files so I can change them to the Brother proprietary fcm format before I am able to cut these files on my Brother ScanNCut. If you're having this problem, you might find my suggestions helpful. 

I've found free software, called Inkscape, that helps to import those more troublesome svg files. Inkscape is a vector graphics software that can be used to create illustrations - or to manipulate svg files, in our case. I work on a Mac, so my instructions are for that format, although you should be able to adapt these for Windows easily.

You need to install both Inkscape and Quark Express X11 on your computer. You will first install Quark Express X11 and then Inkscape as Inkscape needs Quark Express X11 to operate. 

First install Quark Express X11 (or the most recent version). 

 
Download the appropriate version of XQuartz.

Download the appropriate version of XQuartz.


Next install Inkscape by clicking the Download menu and downloading the .dmg file.

 
Download the .dmg file to install Inkscape.

Download the .dmg file to install Inkscape.


Once you've installed both programs, you may need to restart your computer to use them. You should now be able to start Inkscape and Quark Express X11 will open with it. 

Now the fun part begins! You can start importing svg files and modify them so that you will be able to import them into scanncutcanvas.

Open Inkscape and you will notice that it automatically opens a new document.

 
Inkscape opens a new document automatically.

Inkscape opens a new document automatically.


Under the File menu, choose "Import". You can then select the troublesome svg file that you want to import and double click on it to import it into Inkscape.

 
Choose the desired svg file.

Choose the desired svg file.


I find that the graphic may sometimes be outside the work area, so just click and drag it into the rectangle. Click off the graphic to deselect it.

If you'd like, you can play around with the graphic, enlarging it or reducing it as desired. For our purposes, getting it into scanncutcanvas, you're just going to save this file. I like to use "Save as" in case I ever need to go back to the original svg file. Under the File menu, choose "Save as" and then name your file and choose the folder you'd like to store it in.

 
Save the svg file to the Inkscape svg format.

Save the svg file to the Inkscape svg format.


Here comes the important part: when you are saving the file, ensure that you are saving it in the "Inkscape SVG" format. You will notice a drop down menu with several choices in the lower right-hand corner, but the format you want is right at the top, so that makes it easy.

You've now saved the original svg file to a different format and should be able to import it easily into scanncutcanvas, which looks something like this when you open it:

 
Opening scanncutcanvas.

Opening scanncutcanvas.


Log in or set up a new account and you will then have access to the first page, which looks like this: 

 
Yes, there are some cute projects, but skip those for now as you need to finish converting that svg file.

Yes, there are some cute projects, but skip those for now as you need to finish converting that svg file.


Open a new document in scanncutcanvas by clicking on the "New" icon on the left side of the page and you should see this:

 
A new document in scanncutcanvas.

A new document in scanncutcanvas.


Import the svg file that you just saved by clicking the SVG button on the top left side of the page, keeping your fingers crossed. Choose the desired svg file to import.

 
Import the desired svg file to scanncutcanvas.

Import the desired svg file to scanncutcanvas.


The svg file should now open successfully in scanncutcanvas. You can then work on it if you would like or just download it as a .fcm file. You can then transfer it to your USB flash drive and plug it into your Brother ScanNCut to start cutting your shape.

I hope that this method works for you as well as it has for me. I've found that I've been able to access svg files that I previously could not import into scanncutcanvas

If you have any questions or comments, please put them in the comments below.

Creatively,