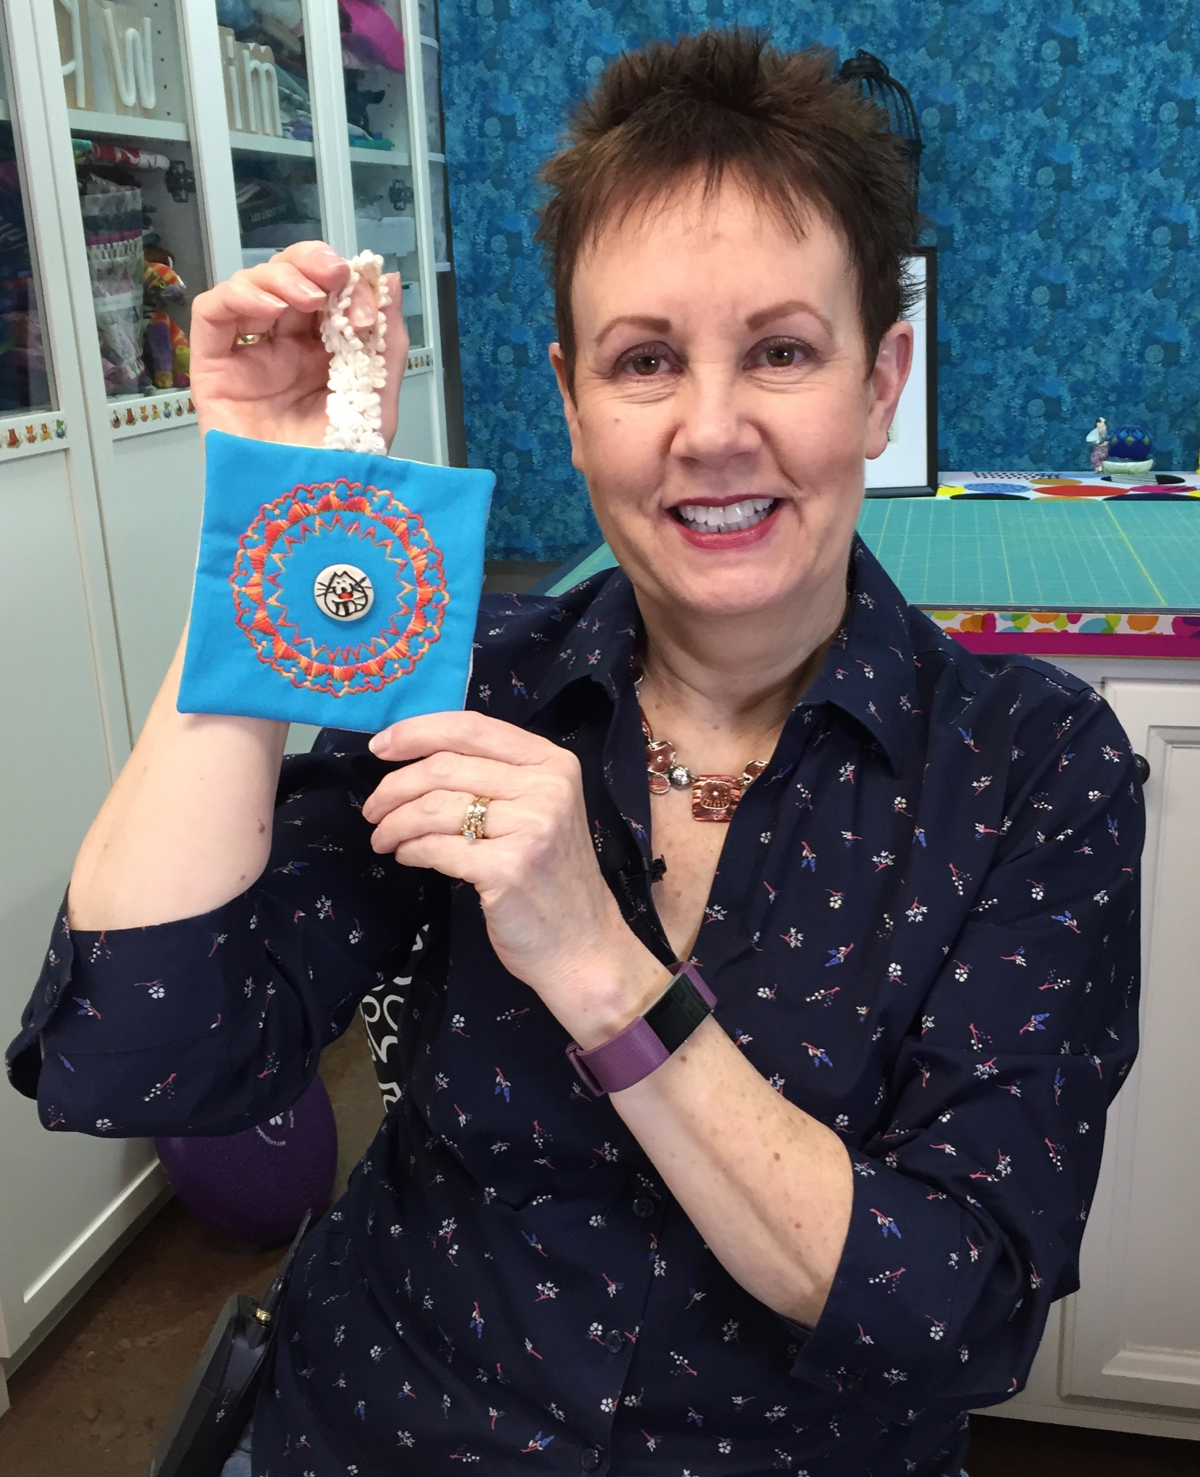
I love to collect buttons, but then never seem to quite know what to do with them. I want to have them displayed so I can enjoy them, so I decided to create a little hanging ornament to do just that. I used the Circular Sewing Attachment on the Janome MC9450 to stitch several circles around the button to showcase it, added a hanging loop and it was done!
If you’d like to use your Circular Sewing Attachment to create a similar ornament, here’s what you’ll need:
Fabric for the top
Batting
Fabric for the backing
Ribbon or trim for the hanging loop
Fabric stabilizer (Click here for information on using this with decorative stitches)
Decorative button(s)
Circular Sewing Attachment and Janome MC9450 sewing machine
Remote control not required for project ;)
The Circular Sewing Attachment that fits the Janome MC9450 installs with a set screw that is included with this optional accessory. You just need to remove the bobbin cover, pop in the Circular Sewing Attachment and screw it down. Very quick and easy to do! The packaging for this accessory includes information on how to attach it and stitch with it, so be sure to keep it somewhere safe!
You’ll notice a black cap that is attached to the Circular Sewing Attachment. It covers the pin that you will use to attach your fabric to the accessory. Be sure to always replace this black cap as that pin is very sharp and you don’t want to injure yourself on it!
There is a locking mechanism on the Circular Sewing Attachment: you unlock this part, slide it along and then lock it before stitching your circle. The closer to the needle this part is, the smaller the stitched circle. I like to unlock the attachment and slide it away from the needle to attach the fabric with the pin. I can then move the attachment to the specific spot I want that will give me the stitch I want before locking it up.
I like to use an open toe foot (F2) when stitching with the Circular Sewing Attachment so I can see that everything is stitching along as it should.
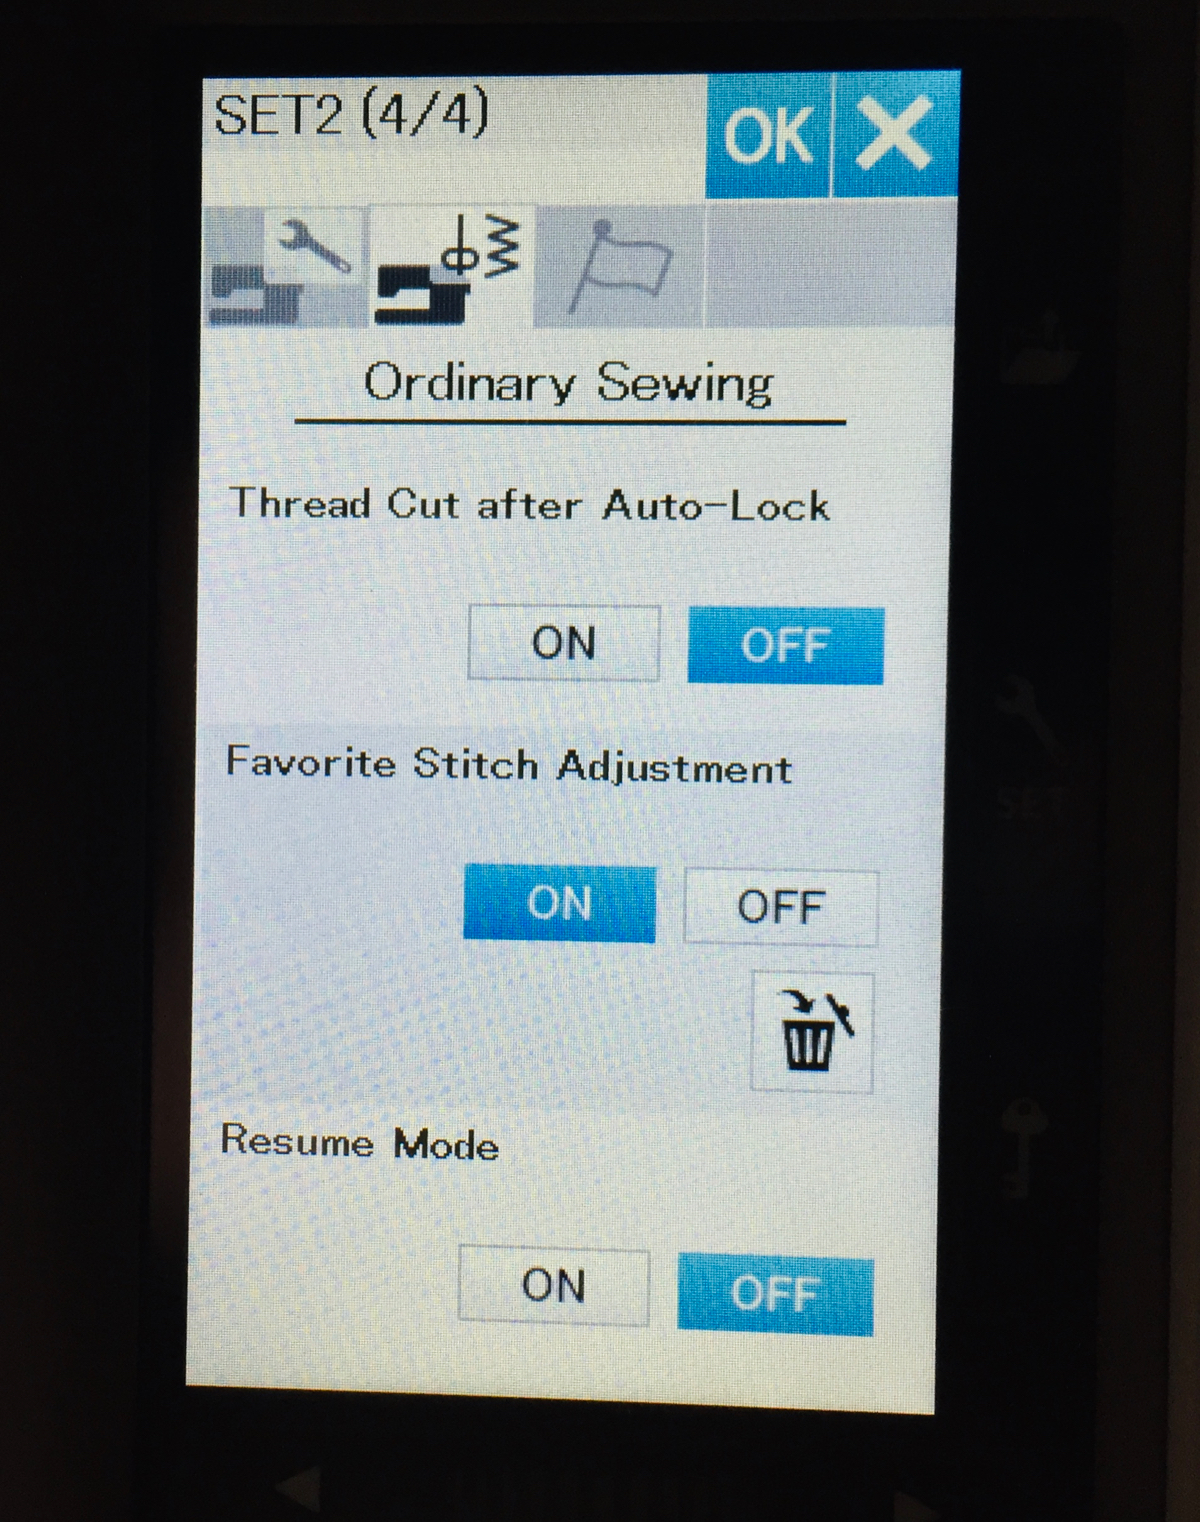
Choose and practice your decorative stitches to ensure that they are the width and length you want before stitching them to your project. Click here for information on saving your adjusted stitches on the Janome MC9450. Put fabric stabilizer behind the fabric or sandwich to ensure that the decorative stitches won’t scrunch up.
I like to use a larger piece of fabric than I actually need and trim it up after all of the stitching is done. This way I don’t run off the fabric as I increase the size of my circles.
Start with smallest circle and work out from there. Leave space between each circle and check to ensure that there is enough fabric so the circles won’t stitch off it.
For this hanging ornament, I layered the top fabric, batting and fabric stabilizer before attaching this sandwich to the Circular Sewing Attachment. I stitched 3 circles, starting with the smallest one and working out. After I’d stitched the circles, I added the backing using the pillowcase method, ensuring that the hanging loop was inserted in the sandwich before stitching. While I could’ve hand stitched the opening closed, I chose to use a glue stick to seal this open seam and pressed it with the iron. Shhh, don’t tell the quilting police!
I added my special button by using Button foot T on the Janome MC9450. For information on how to use the Janome MC9450 to sew on a button, click here.
For more information on creating an ornament with the Circular Sewing Attachment, click on the image below.
What other uses can you think of for the Janome Circular Sewing Attachment? Leave your ideas in the Comments below.
Creatively,
P.S. Are you serious about improving your quilting? Do you want to connect with other committed quilters in a supportive, safe environment? If you answered “yes” to these questions, you need to join The Quilter’s Way. The Quilter’s Way is the only quilting membership site that includes both training and an active, supportive online community. Don’t wait another day! Join now.
P.P.S. Did you know that you can sign up to receive emails full of FREE quilting goodness? Click here to receive FREE content directly in your email inbox every few weeks from Chatterbox Quilts. I know you'll be glad you did!
P.S. I am an Amazon affiliate and, if you purchase items by clicking through the links in this post, I will receive a small amount of commission. This doesn’t cost you any more $$$, but helps me to continue creating free content for you. Thanks!


